Snowy Day Song


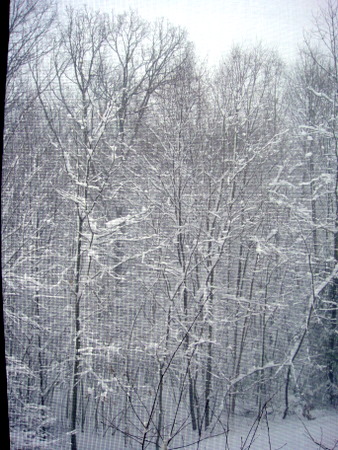
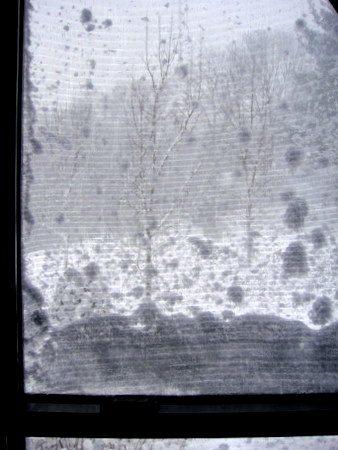
On this snowy day…

…behind snow splattered windows,

I watch nature silently create a visual delight. 

While I listen to this song with my all.  

It’s hard to believe that this song by Kate Bush is more than 20 years old…I first heard it while watching the movie “She’s Having a Baby.”  And when I listen to it now I still feel strong emotion.  I hear the timeless message: “embrace the moment”.  And I’m reminded to live in the here and now, lest the moments slip by.   The truths in this tender song make me think, make me feel…make me appreciate life.


Golden Wire Cage


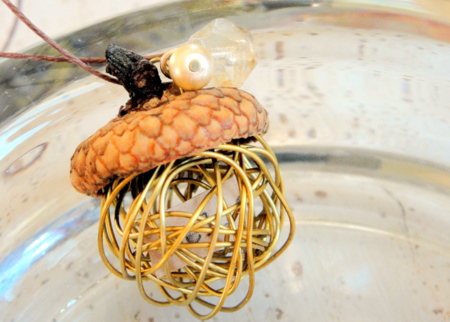
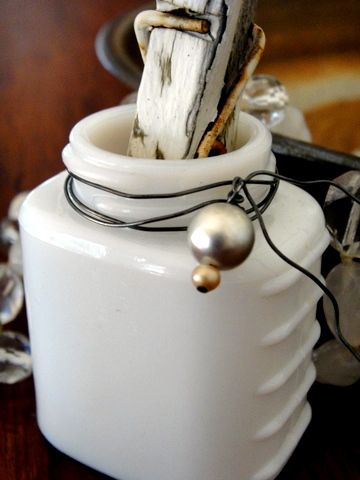
With a gift from Mother Nature I created this little nugget.

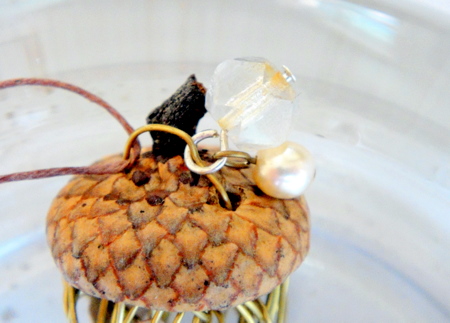
The top didn’t seem to need more than these two tiny beads,

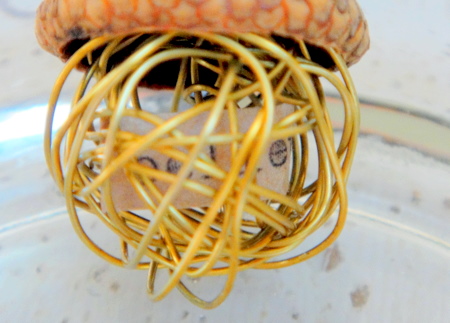
especially since I wanted to emphasize the golden wire cage, with something important tucked inside…

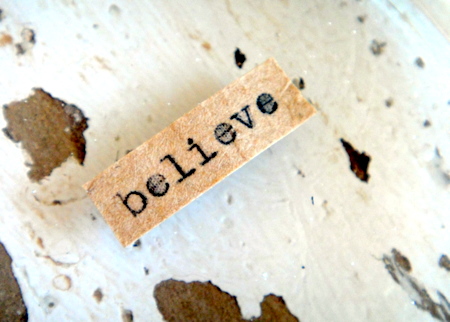
…”believe” is a powerful word that I like to always keep in mind.  I often like to sneak small reminders of positive thinking like this in the things I make.   In this case although the word is somewhat concealed, I know it’s there, safe and sound in its very own special container.  And it helps me to remember…

…”If you believe,  it can be.”  Sometimes it’s as simple as this.


Another Heart


To all that participated in my giveaway, thank you so much for your kind and generous comments.  It was wonderful to hear from both old friends and new.  And it seems that practically everyone from this group is a big button enthusiast…I love knowing this.  I also loved reading your personal button stories – thank you for sharing your memories with me. 

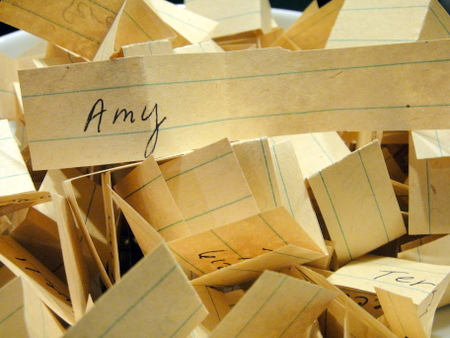
For this giveaway I went old-school again.  I hand wrote each name on plain lined paper, which I then cut into small strips, which were all then hand folded and tossed into a bowl.   There was something about this repetitive activity which was surprisingly soothing and pleasurable.   It was also my pleasure to pick Amy’s name (cottageprims) from the bowl. 

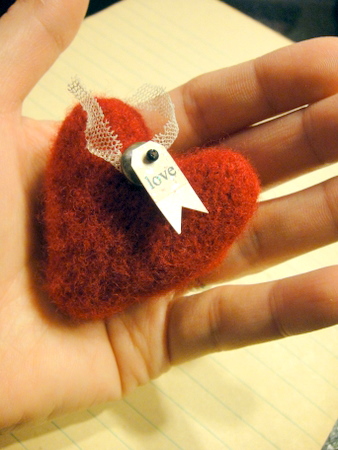
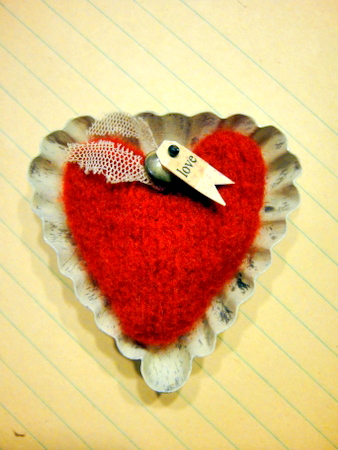
Since you’re already here I thought you might like to see another heart project.  This one is also felted, but not by needle-felting so you might already have the makings on hand.  This mini heart pillow or pincushion is made from a recycled red wool sweater (which can be felted in the washer and dryer.) 

Use scissors to cut wool from a felted sweater into a heart shape (2 per heart.)  If you’d like to make a pincushion like mine, a vintage tart tin can be used as a template when cutting your heart shapes from the felted wool.  Once you have both heart pieces cut out, stack them with the right sides together/touching and then sew (by either machine or hand) around the edges, leaving about an inch opening.  Then use this opening to turn the heart inside out.  Next, stuff poly-fill through the open hole.  Then sew the hole closed with needle and thread.   

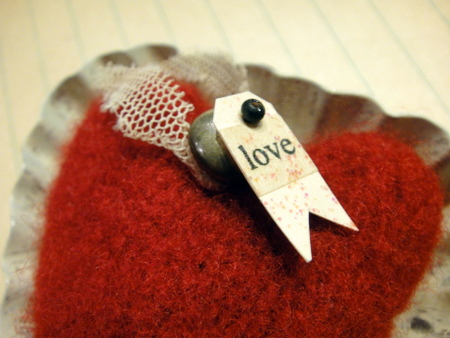
I painted the vintage tart tin using a sponge brush and Titan Buff acrylic paint (Golden.)  Usually one layer is enough since I like the original tin to show through in random spots.  To attach the “love” tag to the heart pillow, I used a straight pin and added a vintage bead along with a strip of mesh fabric (the pin keeps all these elements together.)  If you like, you can use craft glue to adhere the bottom of the heart to the inside of the tart tin.  You can also choose to turn the heart into a hanging make-do by punching a hole through the top of the tart tin, and then use this hole to attach ribbon or string.  If you don’t have a tart tin handy, the pillow alone can also be hung simply by attaching a ribbon or string loop. 

If you like this project you can see more examples in my article, Vintage Tart Tin Pin Keeps published in Stampington’s Somerset Life (July/Aug/Sept 2010 issue.)  In contrast to this bright red wool, all of the pincushions in the article are creamy-white and latte colored.  I love playing with different color palettes…how about you, do you enjoy experimenting as well?


Button Inspired Giveaway


Over the holidays I received a very lovely package from a very wonderful Jenny.

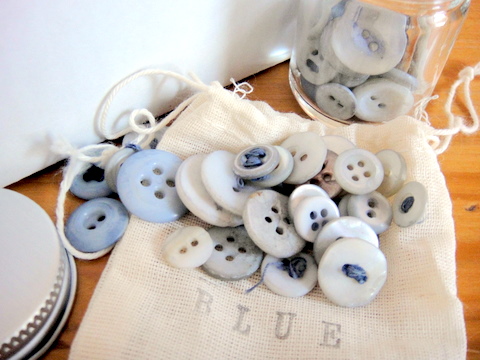
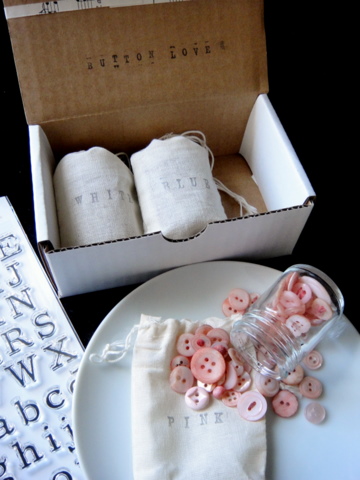
Tucked inside an elegantly decorated box were some beautiful buttons…these blue ones are so incredible.  Who knew that vintage buttons could be dyed to create such soothing hues?  It’s ingenious of Jenny to come up with this amazing kit idea.

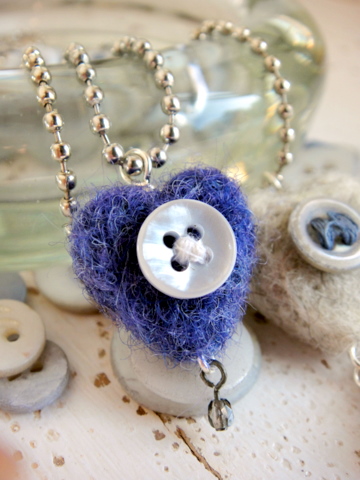
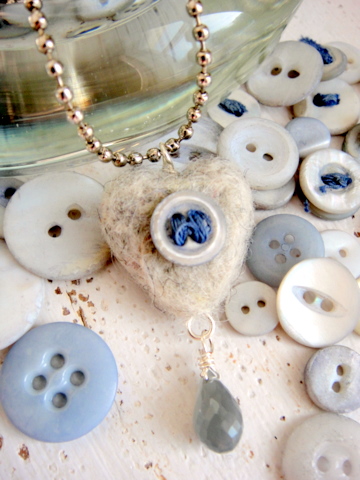
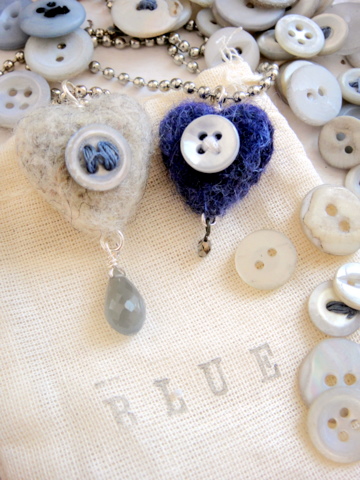
Inspired by the gorgeous blue hues as well as Jenny’s generosity, I created these needle felted wool heart necklaces.

Of course I couldn’t make just one, so both of these necklaces are being offered as a single giveaway.  With Valentines Day coming up you could share one with a friend and also keep one for yourself…two hearts are better than one right? 

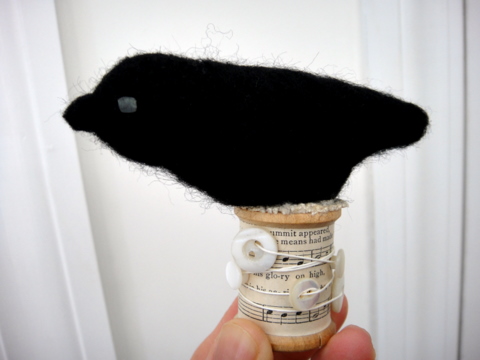
In addition to the necklaces, I’m also offering the bird below as part of this giveaway.   BTW, I’ve been needle felting A LOT lately since during the Winter months it’s hard to resist the soft and cozy feel of warm wool.  How about you, what have your hands been into…what’s got you chirping away?

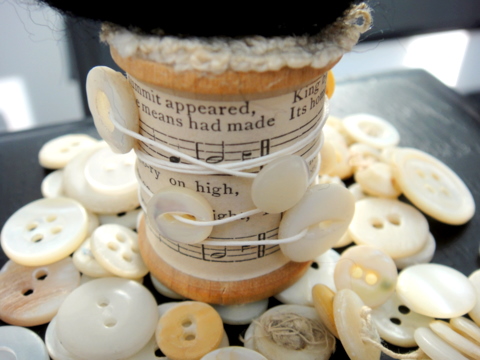
I used vintage white buttons from the same kit to give the spool some subtle charm.

I haven’t had a chance to use the pretty pink buttons or the alphabet stamps yet, but I’m planning to soon, perhaps even as early as next week.  Having special supplies on hand gets me itching to make things…I’ve definitely caught the “Button Love” bug.

To enter, please leave a comment to this post by 5pm next Friday the 14th, and I’ll post the winner on Saturday morning.  Thanks and have a fantastic week.


Cozy Cages


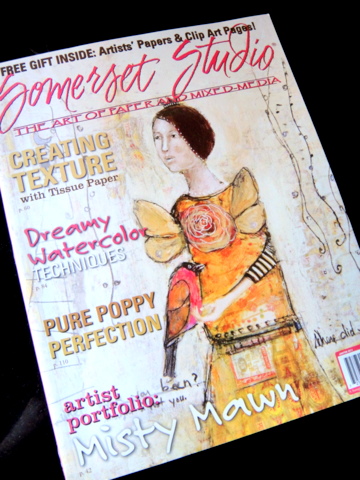
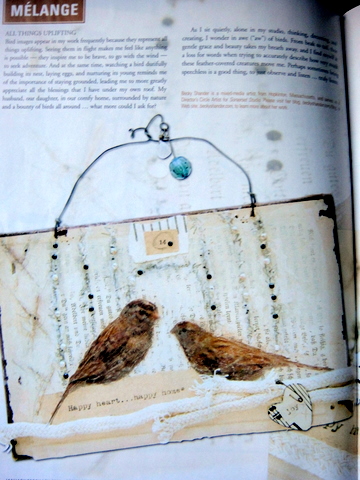
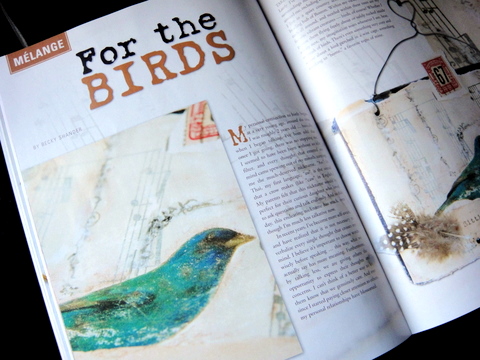
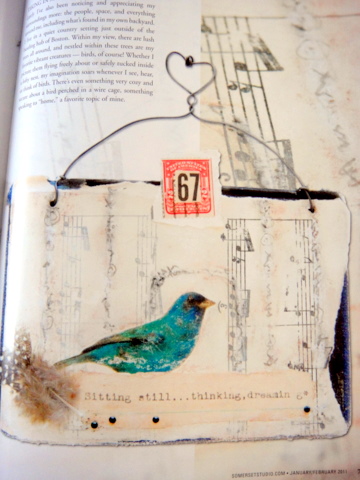
In the current issue of Somerset Studio you’ll see one of my newest projects…a collage using my favorite inspiration, birds, which I’ve nestled within cozy cages. 

While creating these pieces I thought about my early childhood. I was born in Thailand and lived there with my biological family until I was 3 when I was adopted and moved to the U.S.  Sometimes life changes in an instant…just like that.  I had a difficult childhood in many ways, including several periods in my teens and throughout my twenties when I was without a true family of my own.  However, very unexpectedly everything changed once again…just like that, when I met Bill. 

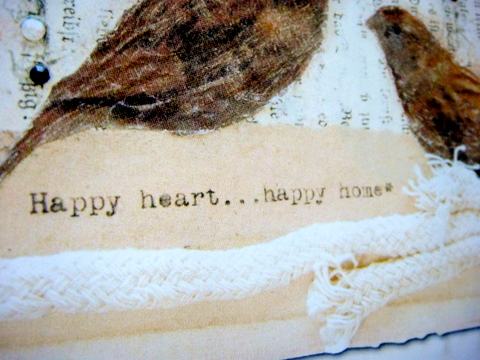
Here’s something that I created with Bill in mind…together we created a loving home. 

And here’s me these days…sitting so happily, feeling immensely grateful to have landed in a comfy-cozy spot.  To some, a cage might bring to mind negative thoughts of confinement, but in my case a bird cage seems more like a haven…a place to finally call home. 

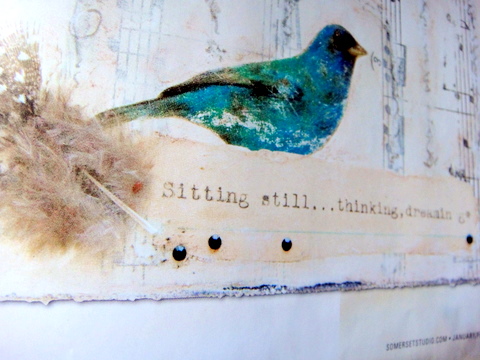
Sitting still…thinking (about how lucky I am to have Bill and Brook as my family)…and dreaming (about all the wonderful moments that still await.)  My thoughts, my heart…everything is full of hope and love. 

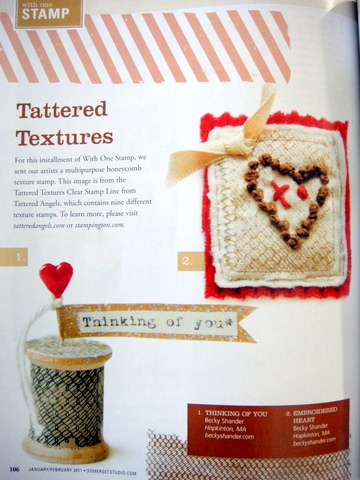
And speaking of love, here are a couple of little somethings that I made for “With One Stamp” which is published in this same issue of Somerset Studio

The heart is ever-inspiring…let it be your guide.


Art Aspirations


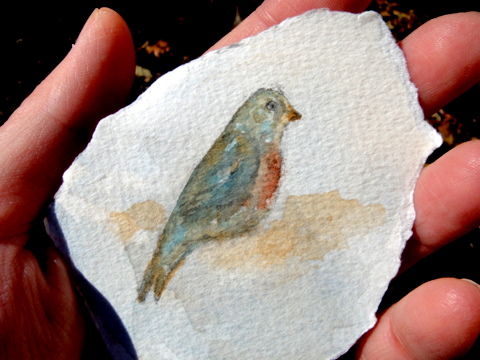
In order to keep the creative process fresh and exciting, every year I try to make it a priority to learn some kind of new art form or techniques.  Sometimes I get to it right away (took up jewelry making as soon as I felt the urge,) but sometimes my art aspirations get pushed aside by life’s many responsiblities.  It took me roughly 6 years before I could fit in proper time for watercolor painting lessons… finally allowing myself 20 solid hours of actual class time felt fantastic!  And now that I’ve learned the basics, I’m very excited about the practicing part which will hopefully open up new creative avenues…we’ll see.

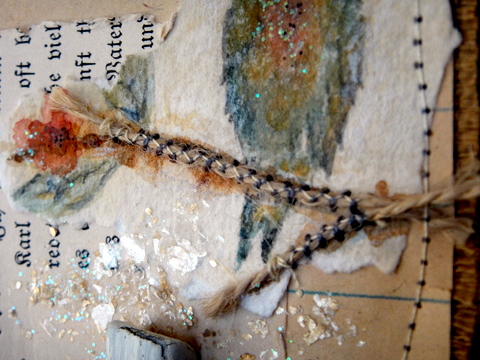
Here’s a look at my first painting attempt.  Of course I had to begin by honoring my love of birds…

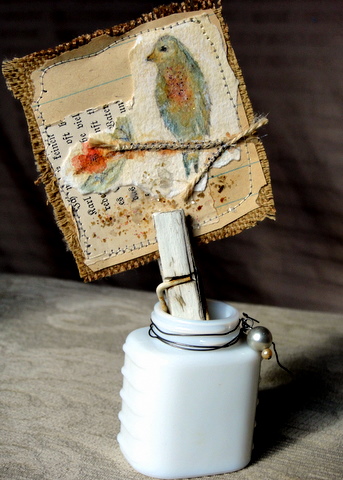
which I combined with some scraps (well, I did a second variation on my first bird) to create this:

I included some sewing…

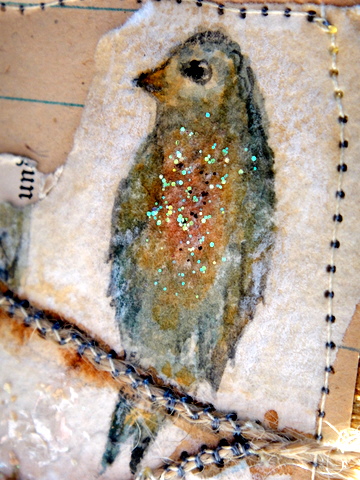
some sparkle…

and simple details.

I’m so excited to continue my exploration of painting in 2011.  Perhaps I’ll stick to watercolor paint, or maybe dabble deeper into acrylics, or maybe something else altogether…who knows?  Just thinking about all the options gets me all revved up…how about you?  What are some of your art aspirations for the upcoming year? 

I hope that the New Year will bring you all good things…peace, joy, love, adventure…cheers!


Listening to the Signs


As the clock keeps ticking…

and December whizzes by…

like this little birdie, I will be taking a breather…some time to expand my view.   To hopefully restore balance…

to make room for the true spirit of Christmas to enter.

A ready heart is the beginning of spreading goodwill to others, during this very special holiday as well as all year round.  I believe that opening up inside can directly affect the world outside, hopefully radiating peace and warmth all around and beyond one’s imagination.   Through compassion and kindness anything is possible.


Making Miscellaneous


I’ve been busy making miscellaneous things…a mish-mash of this n’ that creating whatever comes to mind, using whatever’s around.  Dashing to the stores to buy art supplies during this very busy time of year is NOT on my to-do list.  And speaking of lists, here’s something that I made to add a little bit more whimsy to my personal Christmas wish list.

DSC09168

DSC09167

DSC09169

Altering spools is a good way to use up those little bits n’ pieces.

DSC08817

DSC08831

DSC08835

Recycling cardboard to create collage ornaments using bird images and various spare parts is easy and inexpensive.  I’m always looking for ways to save time and money, plus I’m a big fan of  being mindful towards conserving resources.  Growing up with less I’ve learned to make the most out of whatever’s on hand…I never would’ve guessed that doing without could end up being somewhat of a blessing. 

 DSC09735

DSC09742

DSC09739

If you have any specific questions regarding the how-to details for the above projects please feel free to leave your questions in the comments, and I’ll be happy to answer them in the coming days.  Since I’ve posted three separate projects, I thought this option would be easier…I hope it works out that way.


Scrappy Wool Birds


During the Fall and Winter months I’m always in the mood to make things using felted wool scraps.  Here are a couple of cozy-looking birds that I recently created.

DSC09713

DSC09716

To create the birds I used some felted wool scraps leftover from my larger projects.  This material originates from old wool sweaters that were either mistakenly shrunken in the wash, or the moths got to them.  To rescue your sweaters by turning them into felted wool, simply wash and dry them.  And please keep in mind that only 100% wool sweaters will felt properly.

DSC09656

Once you have your felted wool material prepared, create a bird shape template (1 body, 1 wing) using cardboard.   My cardboard comes from the back of a lined yellow pad…you know I love to reuse everything!

DSC09659

Use the template to cut bird shapes from the felted wool material.  For some variety, I made some birds with two coordinating colored wool (1 color for the body, another color for the wing) and kept the colors uniform for some other birds.   Additionally, I used pinking shears to trim around the wing edges to add more interest.

DSC09660

Next, use 22 gauge wire to attach a beaded dangle (the beads are saved from vintage necklaces) through the bottom of the bird.

DSC09668

I also used a mini-felted wool ball (purchased from Ornamentea) along with a felted wool scrap (cut into a circle shape.)

DSC09708

Next, use an embroidery needle and thread to stitch an eye.  Also use the embroidery needle to attach a thin twine hanging loop.

DSC09670

Lastly, use craft glue to adhere the wing to the body of the bird.

This birdie looks right at home hanging from a colorful bush.

DSC09696

And this one could either be hung on our Christmas tree, dangled from a kitchen cabinet knob, or maybe suspended somewhere in my studio, or anywhere throughout the house, really.  I still have a big pile of leftover wool scraps, so chances are good that I’ll be making many more little birdies.

DSC09717

Happy scrappy crafting!


Grateful, Peaceful and Potential


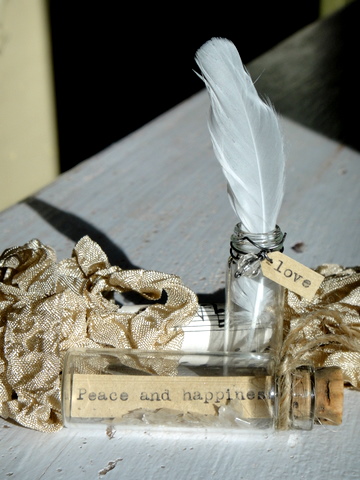
The heart often points me to a certain creative direction.  And in response to this internal whisper, I obediently listen, ponder, and then make…sometimes that’s it, there are no bells or whistles involved.  While putting together these bottles of bliss I felt a calling to use calm and quiet colors…a soft and serene palette reflects the peaceful feeling that I often have.
DSC09640

DSC09628

DSC09645

Walking outdoors also encourages peaceful feelings.  And if I happen to find little treasures like acorns, I always bring them home, grateful to have stumbled upon these natural gifts. 
DSC08823

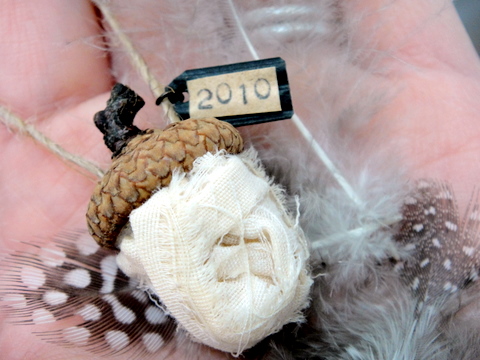
The acorn is a symbol of strength and patience, resilience and growth.   And seeing one often makes me think of the power of potential…how is it possible that one single, seemingly insignificant seed can magically grow into a glorious, towering oak?  And eventually, with seeds of its own even.  The magnificence of mother nature is ever-inspiring…big or small, I am grateful for it all. 
DSC08782

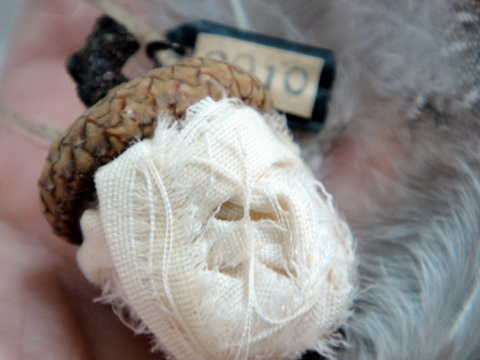
To celebrate this little nugget from nature I created an acorn using material from a white cotton pillow case.  And since the acorn cap is so darn adorable, I decided to use it as is. 

To begin making this acorn, remove the cap from the seed.   Then use a hand awl to carefully pierce two holes through the top, center of the acorn cap (these holes can be used to run a piece of twine for hanging purposes.)  If you like, create a mini tag with a special word (I used “2010” as a date reference) and attach it to the twine with a jump ring before knotting the ends.  

Next, hand tear plain cotton fabric into thin strips, roughly 1/4 ” wide and 10″  long (depending on your cap size, you’ll need about 2-4 strips per acorn.)  Then tightly wrap these strips into an egg-shape, adding a dab of craft glue to the strips as you wrap to help keep the shape together.  Once the wrapped egg-shaped form looks like it’s a good fit for the cap, use craft glue to adhere it to the inside of the cap (with the end of the strip tucked inside the cap.) 

For Thanksgiving it might be fun to make a batch of acorns (you can skip the twine hanging loop) and plop them into a clear glass bowl for display.   I love bringing the outdoors in…nature’s bounty adds so much warmth to a home.   BTW, you could make some acorns with hanging loops as well – this simple decoration could look charming dangling from the limbs of a Christmas tree.